II. Layer By Layer Mapping
Layers Under: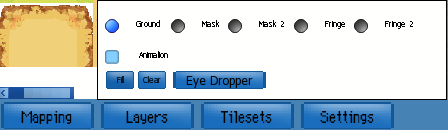
I have heard several analogies used to describe the layers of housing to help people understand the concept better.
But the bottom line is: Work your way from the bottom up. You are building a house; you cannot make a roof before you have a floor. When you begin your map, you are basically starting from nothing.
Some helpful analogies Include:
Pizza - Each layer of mapping is like a part of a Pizza.
Ground = Crust
Mask (1 and 2) = Sauce
Fringe (1 and 2) = Cheese/Toppings (you can never go wrong with cheese)
Anyways, to make a (classic) Pizza, you must have a solid bottom/crust. Obviously you cannot put the sauce or cheese on first. Apply that to mapping, you must begin with a solid base/GROUND.
Then you begin putting the sauce on. As you do this, you see less and less of the ground. Again, you cannot put the cheese on before the sauce. You work your way up.
Finally you put the cheese/toppings on, that is the final layer.
Obviously whatever you put on last, is going to be on top.
That is why it is good to work up in mapping, Fringe 2 is always going to be on the very top and ground is always going to be on the very bottom, no matter which way you put it.
Clothes -
Here I will describe what should be done whilst mapping; layer by layer. With me making a map along with it to further illustrate the process.
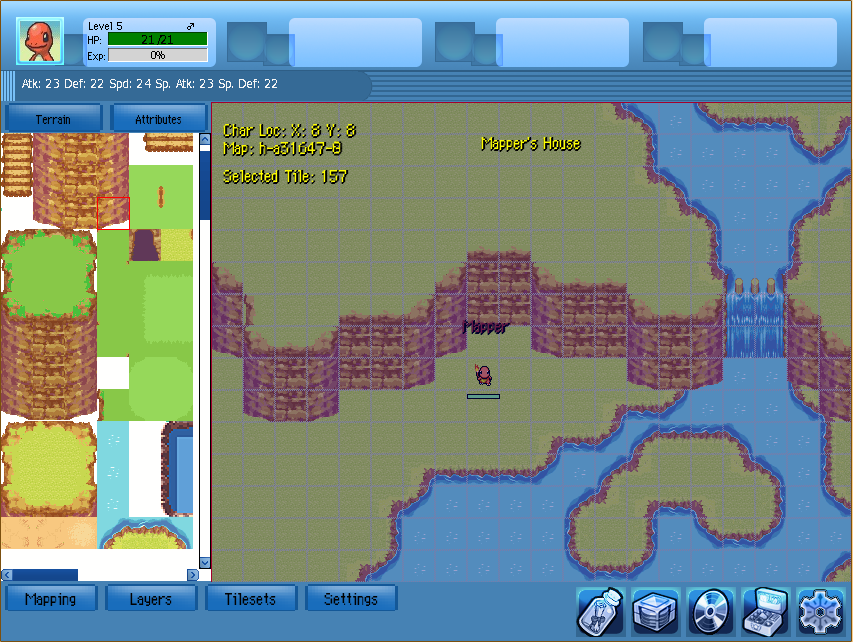
A. Ground
As soon as you have an idea of what kind of house you are building and a plan to what it is going to look like, then you can begin the house. An easy way to do ground, is to pick one tile that is going to fill the ground for majority of your map. After it is picked, go under Layers and click the button fill.
This should fill your map.
Then for smaller parts that have a different ground, you can do that by hand. (like water or different sections).
You should be done with your ground layer now. If you have water as any of ground, go ahead and complete the animation.
Ground Example House:
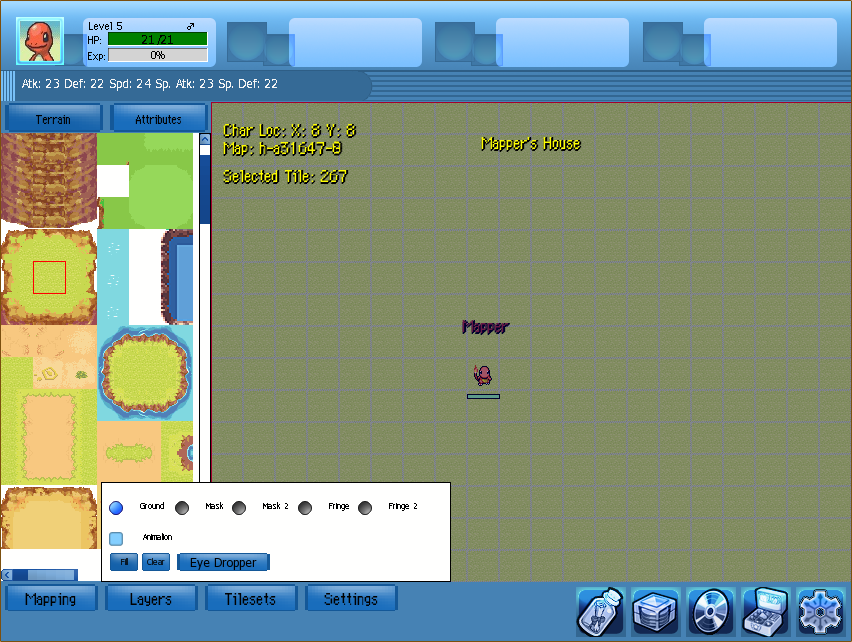
Here I chose the green/yellow grass tile as my main ground. Later I went and added some water ground tiles.
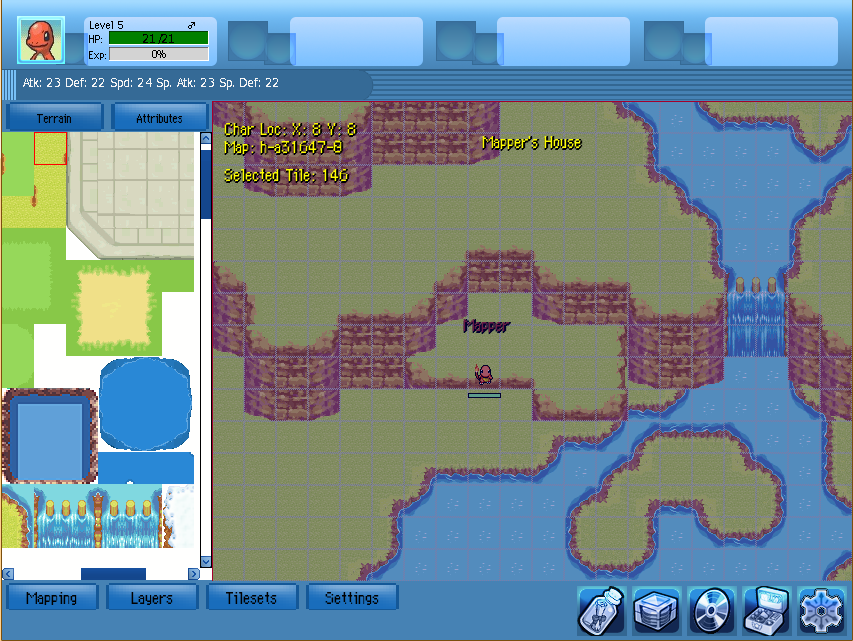
B. Mask
The Mask (1 and 2) layers are the layers you can walk on top of/in front of.
This is where you begin adding the outline to your house. Where cliffs go, where rivers/ponds/lakes go, and sometimes grass.
These are examples of how the Mask layer progresses.
Mask A Example House:
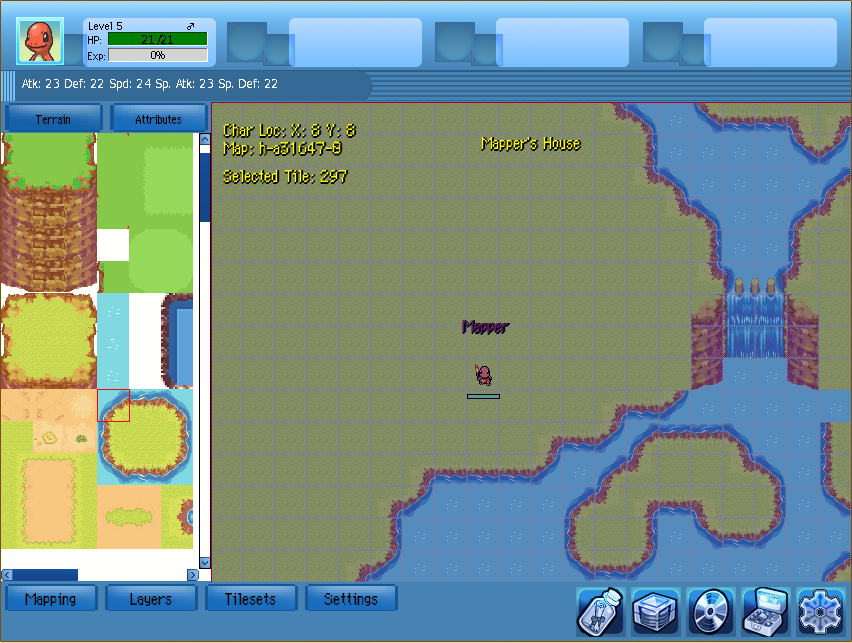
Do one section at a time. If you begin an outline of something (mine is the river), finish it. You can always edit it later.
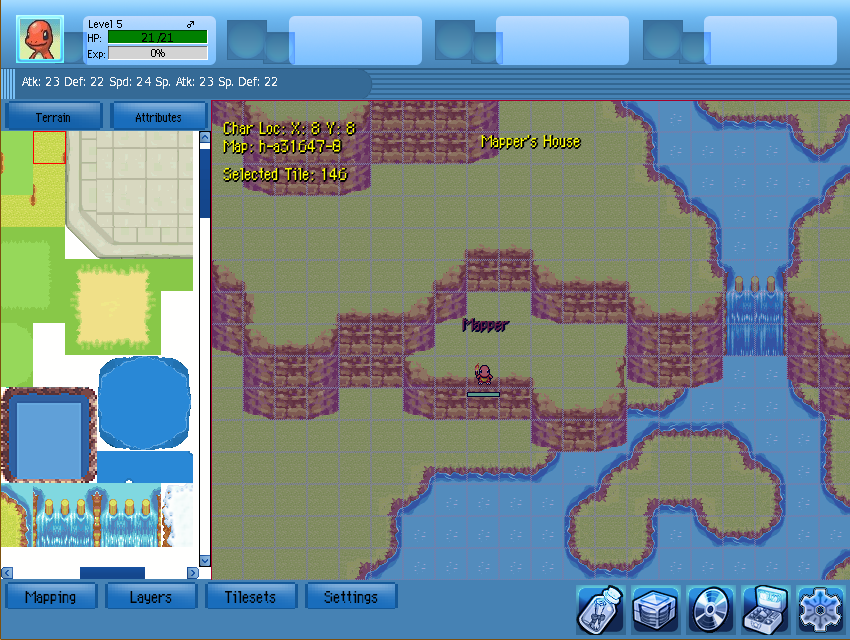
Mask B Example House:

Mask C Example House:
If you have the same tile in several places, do that at once, instead of continuously
switching between tiles.
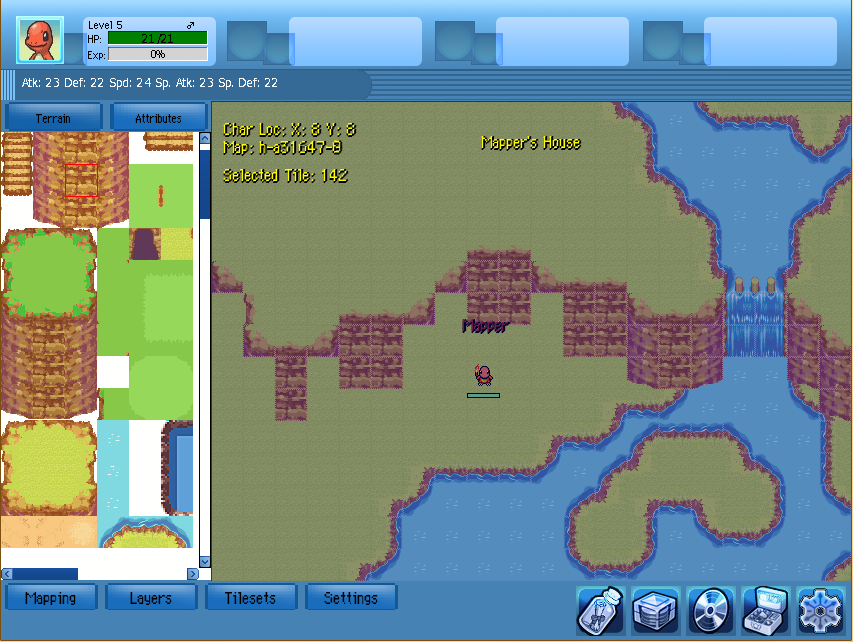
Mask D Example House:
Mask E Example House:
Sections include different sections of cliff. Don’t start one cliff and go to work on another in the middle.
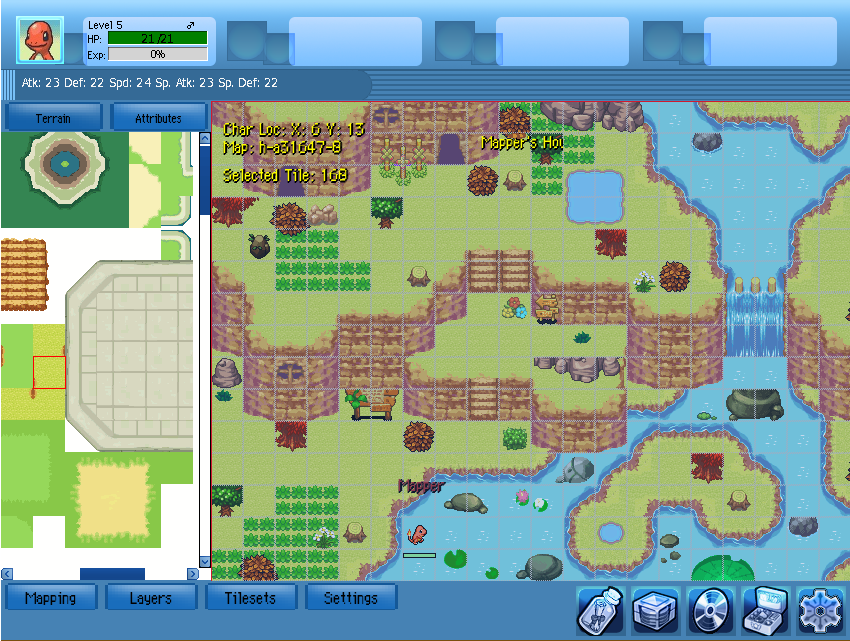
Mask F Example House:
C. Mask 2
Mask 2 is where you begin to add in the details. More grass, trees, rocks, flowers, signs, bridges, logs, etc.
When adding these things, make sure to have them scattered about, so they look random. The idea is to make it look as natural as possible! (unless of course its a map that has deliberately planted and placed things.)
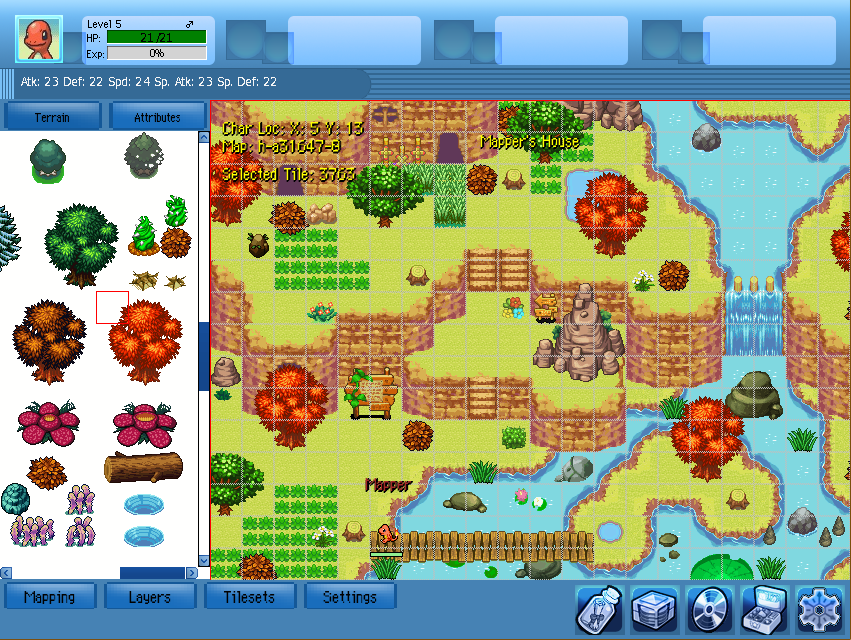
Mask 2A Example House:
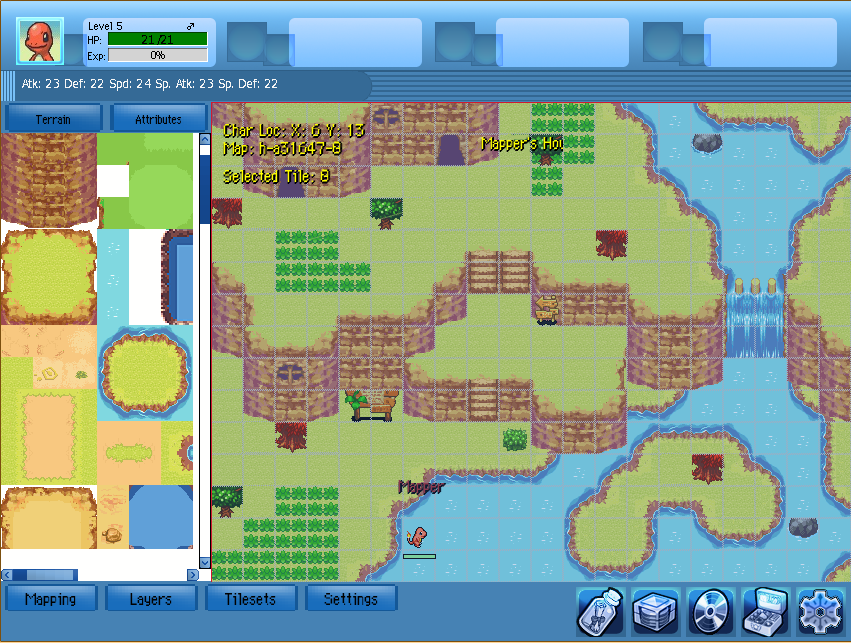
As you can see, I only did the bottoms of trees, large rocks, signs, and other large objects. This is because the tops are being saved for fringe.
Mask 2B Example House:
Tip: Scroll through different tilesets looking for things that fit your theme and map. Tileset 7 is an excellent one for outdoor maps.
D. Fringe
The Fringe layers are what you walk behind.
Fringe is where you add things such as tops of trees, tops of rocks, fronds.
Fringe A Example House:
Do not think that all details are added in Mask 1 and 2. There are a few things that are one tile only or just meant to be walked behind that can be added in this tileset.
Fringe B Example House:
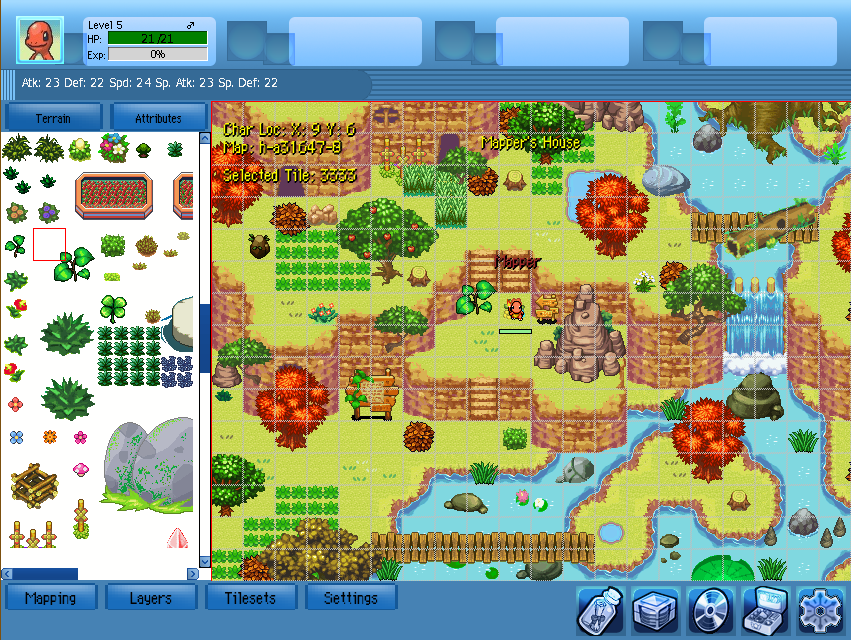
E. Fringe 2
Usually I do not use Fringe 2. I only use it when I have more than one thing I need to Fringe on the same tile. So for whichever thing is suppose to be on top/forward you should make that Fringe 2.
Sometimes there are 3 things that may fall on the tile that need to be Fringed, but when that happens, something needs to be moved.
Also I would recommend Fringe 2 being used for Rain/Snow animations. This way it is on top of everything and you can erase it easily.
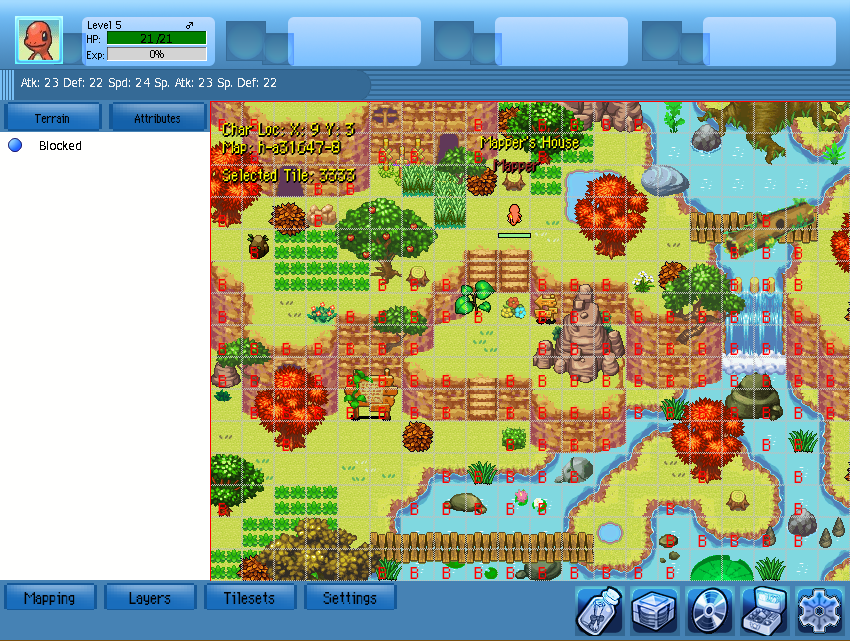
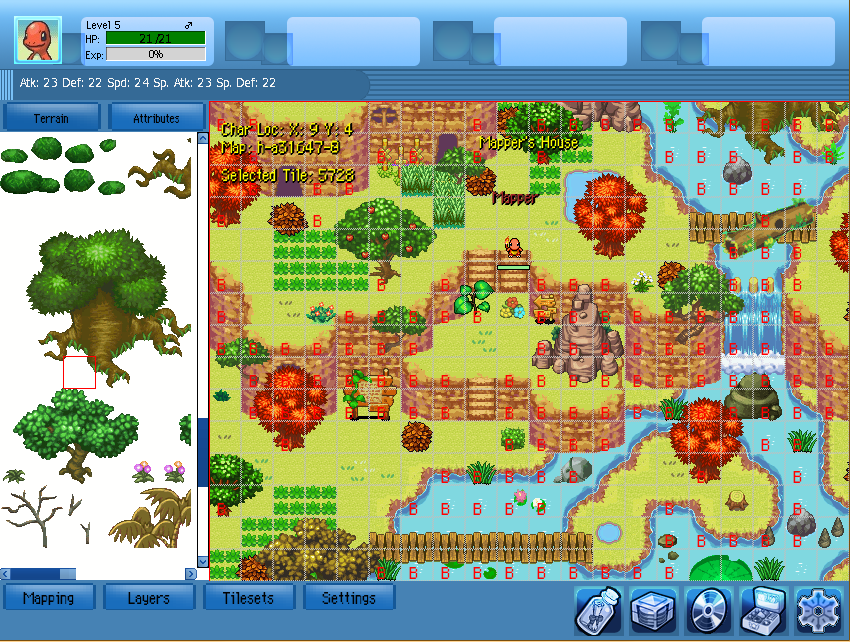
F. Attributes
In game, the only attribute available is Block.
Do Blocks last. This was you can do it all at once, if you do them to early, you will add things/delete things and will have to change your blocks.
Block Example House:
G. REVIEW!
Always assume you have made a mistake. Walk around your house, look for small errors of any kind. They could be blocking errors or layering errors, etc.
But do not just look for errors! Look to see if you have pulled your theme together well.
You may have overloaded your map. (as I tend to do)
Or under-loaded it, making it look just like an outline.
Review Example House:
Its always a good idea to get a second opinion. Get someone else to look around your house to give you a fresh point of view.
Finished Layer by Layer Guide Example:
