This guide will walk you through installing and implementing a skin from a PMUSKN file or a ZIP file.
Finding and Downloading:
Step 1: Go To Skins Category


If you don’t have the skin category selected, open up the menu with the three bars on the top-right. Once selected, scroll down until you find the Skins category.
Alternatively, select the magnifying glass and type in “Skins”.
Find a thread with a skin you would like. There are a lot of skins to choose from, with some being outdated. A directory of skins will soon be compiled on forum.
Check the screenshots to see if you like it or not if there are any before you download. Click on the arrow to see these screenshots. For some, there are two types of files. .zip and .pmuskn. Both are implemented differently.
.PMUSKN File:
.PMUSKN: Locating File
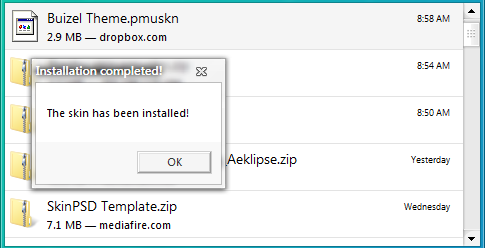
Save this file into Client/Skins. Most browsers allow you to open the file location after download. If you lose the location, search “pmuskin” in the Start Menu and click on the .pmuskin file and move it into the appropriate place.
.ZIP File:
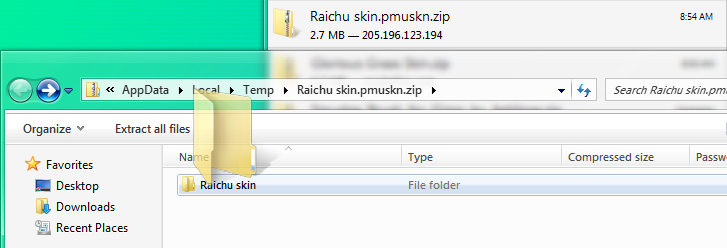
Download the .zip and click the file. It will open up another folder with the skin in it.
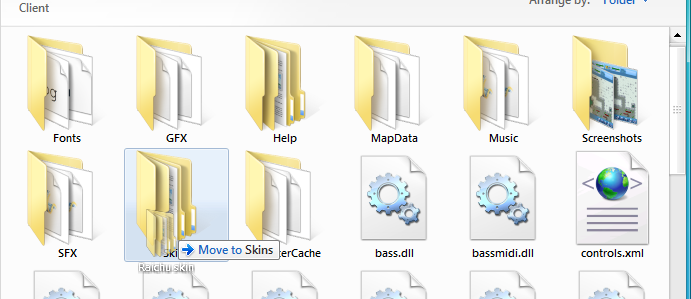
Move the folder of the skin into PMU’s skin folder. (Go to Client/Skins)
Using the Skin:
Step 1: Skins Button
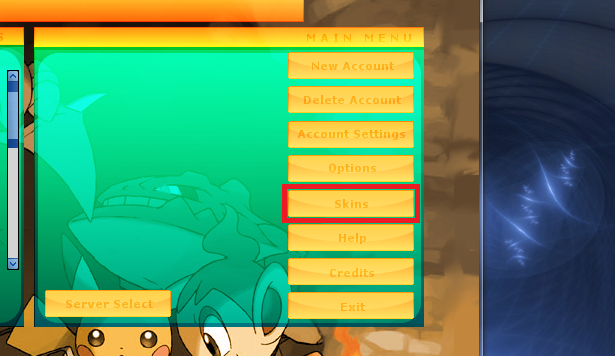
Launch PMU and click on “Skins” in the main menu area.
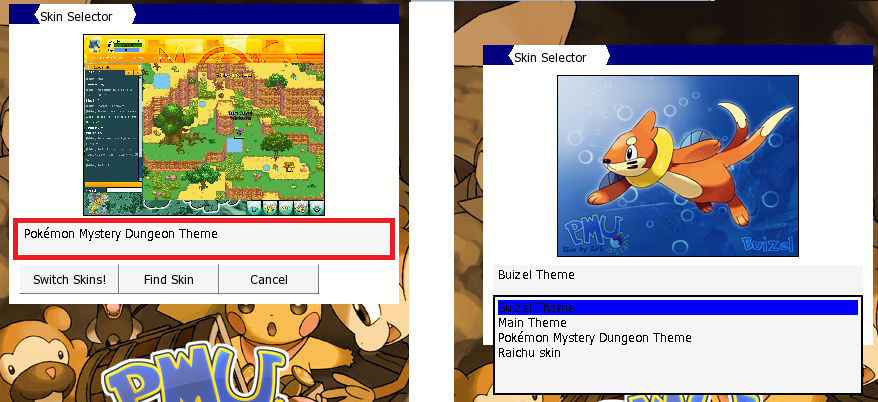
Click the box and click on the skin you just downloaded.
Step 3: Switch Skins
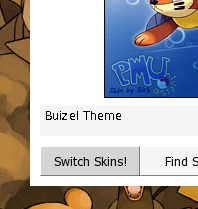
Click on “Switch Skins!” and there, you have it!


